


Copyright � 2016 by "Musical Instrument Repairs WA (MIRWA)" � All Rights reserved � E-Mail: service@mirwa.com.au


We fret level for a variety of reasons, you may have just refretted the guitar and need to level the frets to finish, or you may have a high fret which is causing buzz.
This guitar has fret buzz all up and down the neck.
This process is addressing the fact this guitar has worn frets
Approximate time to complete 1 -1.5hrs
This guitar has fret buzz all up and down the neck.
This process is addressing the fact this guitar has worn frets
Approximate time to complete 1 -1.5hrs
First we need to access the internal truss rod, this can be done from the top of the headstock or in some cases inside the sound hole.
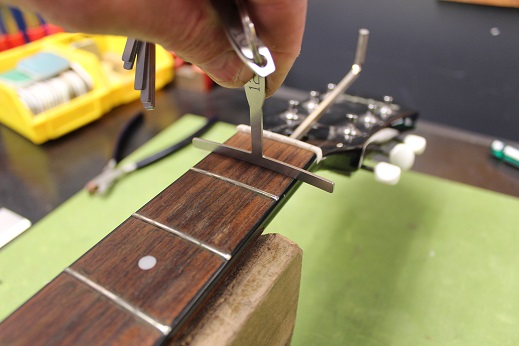
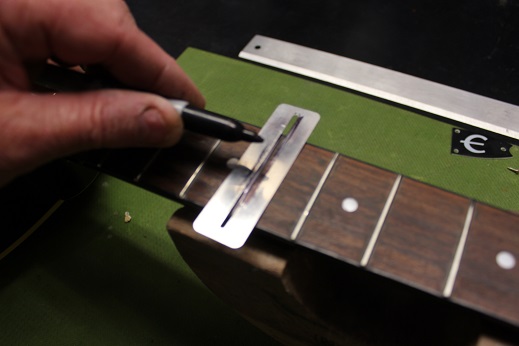
You can check for backbow using a steel ruler and seeing if it rocks across the frets.
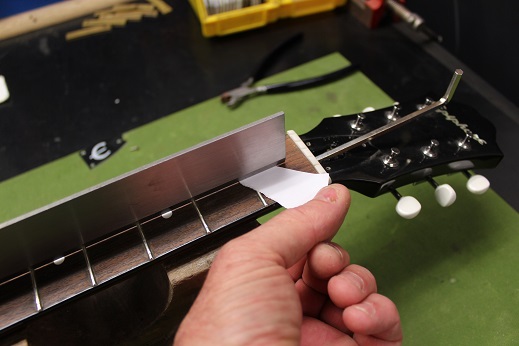
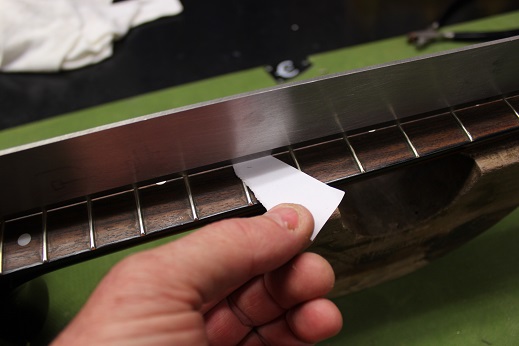
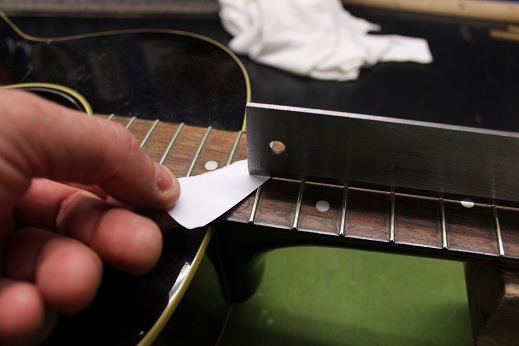
An easy way to see if you have a nice straight neck, place some paper under three contact points, it should grab at all locations.
In the middle.
Also up around the 13th fret.
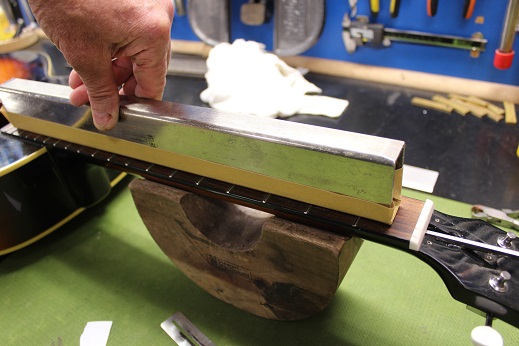
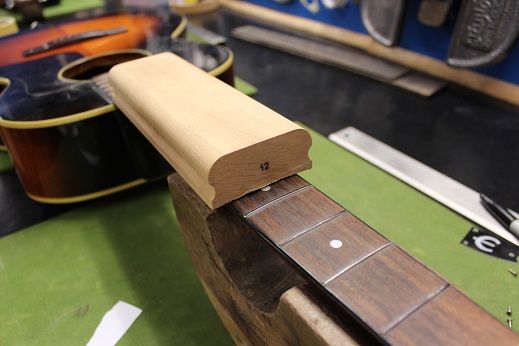
So before we start we need to know what radius the fretboard is, a set of simple gauges identifies this one as a 12 inch radius.
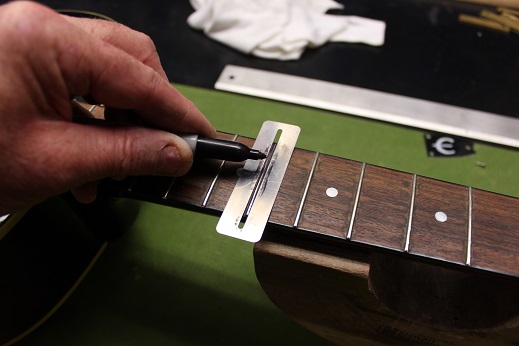
Using a black texta and a cover, paint all the frets black.
Once all the frets are black, we use a flat straight edge fitted with sandpaper (I like 220 grit), and then we level all the frets until all black paint is removed.
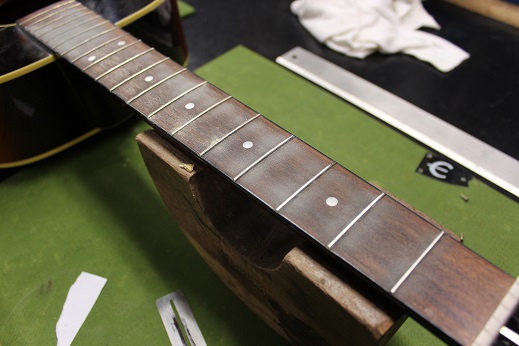
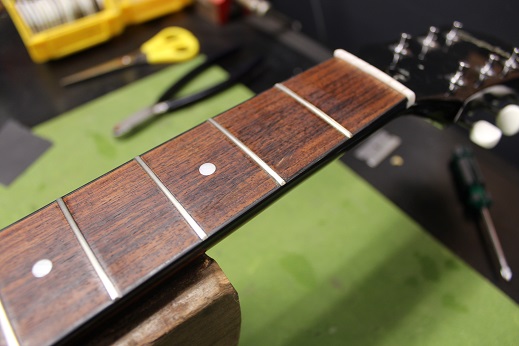
Nice levelled frets.
Again repaint them black.


Using a shaped caul, we now sand the frets to a radius of 12 inches, until again all the black paint is removed
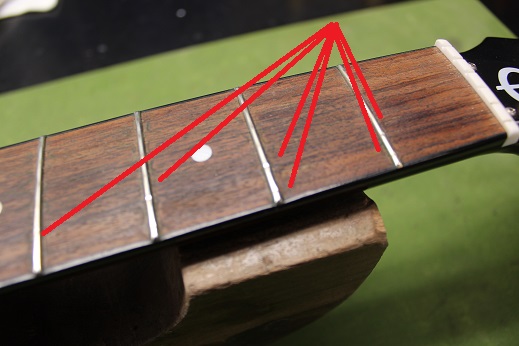
One guitar in for fret level and setup, frets are worn from playing chords.
So we have some worn spots in the frets as indicated by the arrows.
Using an appropriate tool adjust the truss rod to remove any back bow in the neck.